Session#2 Additional Pictures and Info:
Here are some additional pics taken with Brian's camera from last night's session;
First up is a pic of Brian standing with one of the sections. This is a good pic, good lighting and you can see the size and some detail of how it is built underneath. You can also see how one of the "GM Wings" are shaped as part of the table.
Next some more shots of the projector rig, because people keep asking about it. The projector is mounted vertically on the only piece of the rig that doesn't move.
The projector is pointing up at the first mirror, which is angled and adjustable. You can adjust the height of the first mirror and the angle. If you look close in the above image you can see the horizontal hinge where the mirror frame is attached.
Below is a couple of side shots of the projector rig. On each side is a knob that you can loosen to adjust the angle of the first mirror;
Next up is a picture of the back of the rig. You can see the two knobs that adjust the height of the first mirror
Next pic is of the main mirror, notice that it's angle is adjustable also;
So, why all the adjustable mirrors? Because with this setup you can get an effective 5ft throw, much longer than you can with a projector hanging from a standard sized ceiling, which means a bigger and more detailed image on the screen. Also, this makes the projector rig portable, meaning that you don't have to do a permanent install somewhere, which is a big plus with The Wife and also we play at my apartment but the rig is owned by Brian, so he can easily(somewhat) take it home after a game session. And he wants to take it to the game conventions that we have here in town. We have three throughout the year, GameCom Memphis(at the end of Sept), ShadowCon(early Jan) and MidSouthCon(end of March) and I'm hoping to see Brian take it to all three for years to come.
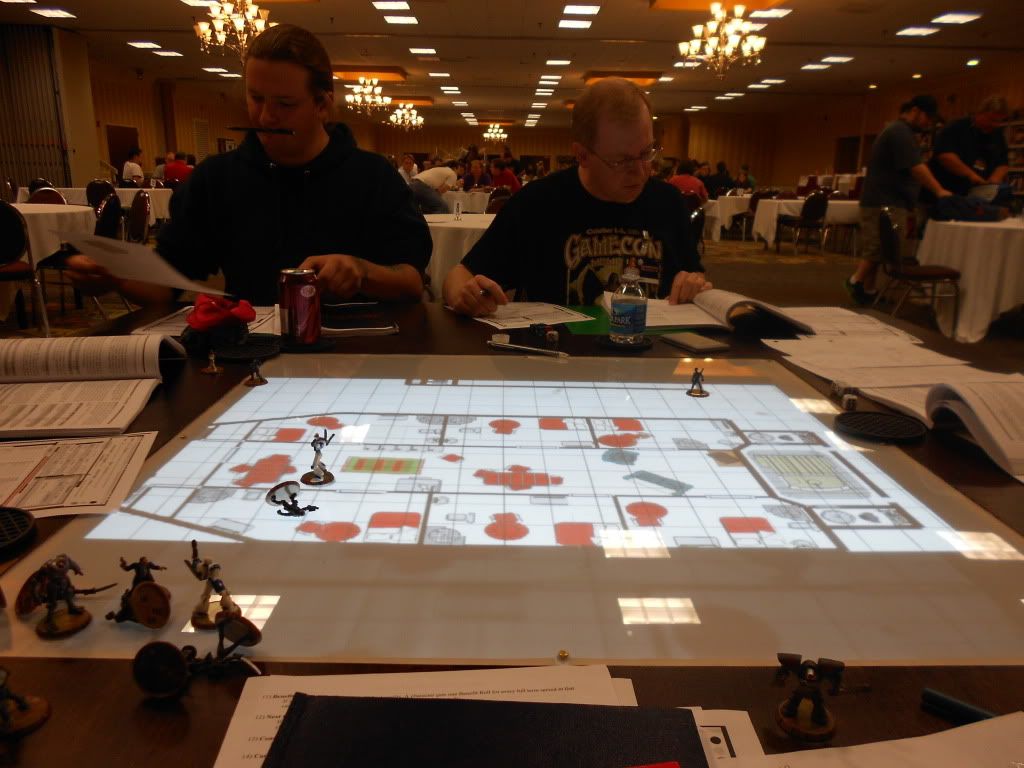
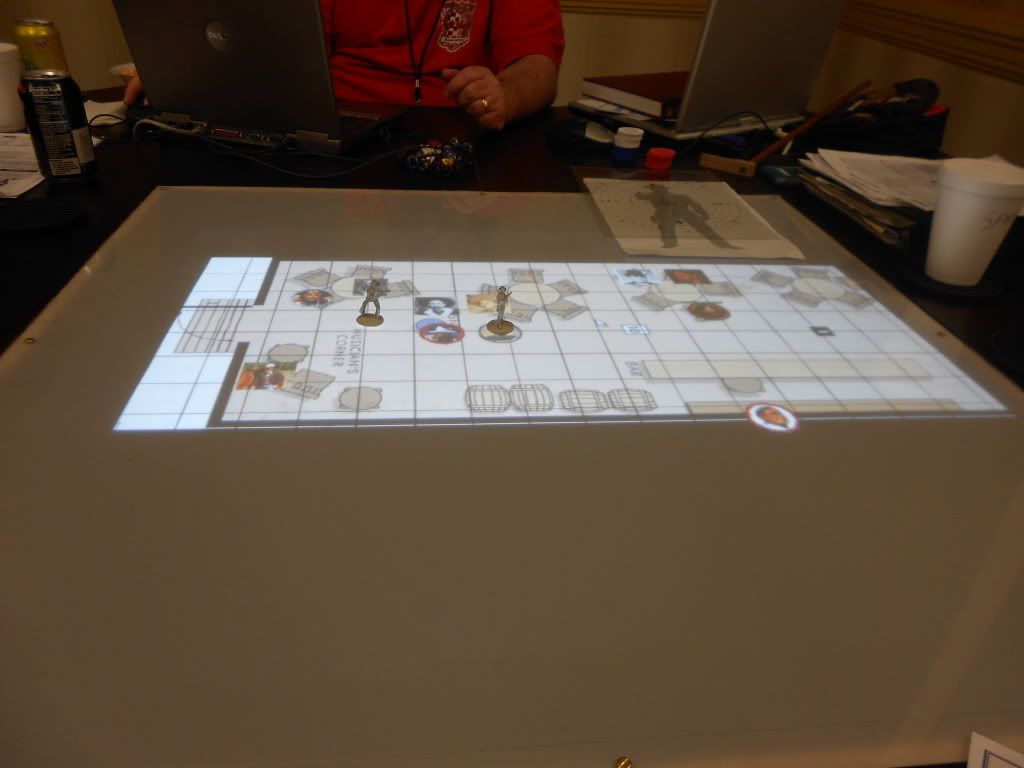
Here's another pic from last night's session. We had already slain a bunch of monsters, victims of the BattleMage's fireballs are in the foreground and then the Fighters went to work on the ones in the room with the small pools. At this point we are about to face a bunch of others in a room with a Big Pool. The fighters are slugging it out and the battle mage(one of the mini's on the far right) is about to fire off his Wand of Lightning to fry them, the Cleric is watching our backs and my Gnomling Ill/Thief is trying to stay out of the way. We use mini's for the PCs and MapTool tokens on the screen for the bad guys. There are also onscreen tokens for each of our characters. When we want to move our characters, we move the mini where we want to go and the GM moves that Character's Token, which reveals more of the map(we are using the Fog of War and Vision Blocking features of MapTool). All the tokens with a Red X are monsters that were slain. And yes, we've already looted their bodies. :)

The next pic is later on as the party swims through a water filled tunnel while using Potions of Waterbreathing. We are tracking down the BBG(Big Bad Guy), aka The Boss of this dungeon so we can kill him/it. We have moved the mini's out of the way for a clear shot. We swam by and the fighter(Rocky) in the lead didn't see the Giant Crayfish in the side room. Look at the lower right and you'll see some dots with what looks like shadows that angle off. That is a portcullis that is blocking the passage way. This is a good view of the Fog of War that has been cleared but the bars are blocking some vision, thus the Shadows(if you've used MapTool vision blocking and FoW you know what I'm talking about). After this combat we opened the gate and moved on through the passage that was revealed as we moved along. That was where we finished the session.

I probably won't be posting any more pics until after our next session(Next Sunday). However, depending on the questions that I get, I may make another couple of posts this week. I'm thinking a FAQ and a History(or how did this thing come about) are due.
More later...
