Monday, March 24, 2014

Artemis Bridge Simulator at MidSouthCon!

Yes, I know it's been a long time since my last post here, but honestly we haven't done anything new and different with the table so it would have just been more pics of the same group playing at the same table, which would have been exceedingly boring.

However, now we've done something different with Brian's "Ubergeek Game Table."

FAQ:

Before anyone asks, let me go over a couple of things;

1) I didn't build this, nor do I own it. One of the guys in the pics named Brian did.
2) Sorry, but there are no plans or schematics for it. Brian just kinda winged it and built the thing. He didn't keep any notes. Come to a convention or event where Brian takes it and ask him about it. He's happy to talk about it, but he can't give you any paperwork on how to build it.


So, we've been playing something called Artemis Bridge Simulator at the local SciFi/Game Conventions here in Memphis thanks to a couple of Bridge Crews from Arkansas, but this time neither of them could make it. One crew had another commitment and the owner of the other Bridge setup moved away to the Great White North. So we decided to attempt to use Brian's table.

Go check out Artemis Bridge Simulator so you know what I'm talking about;


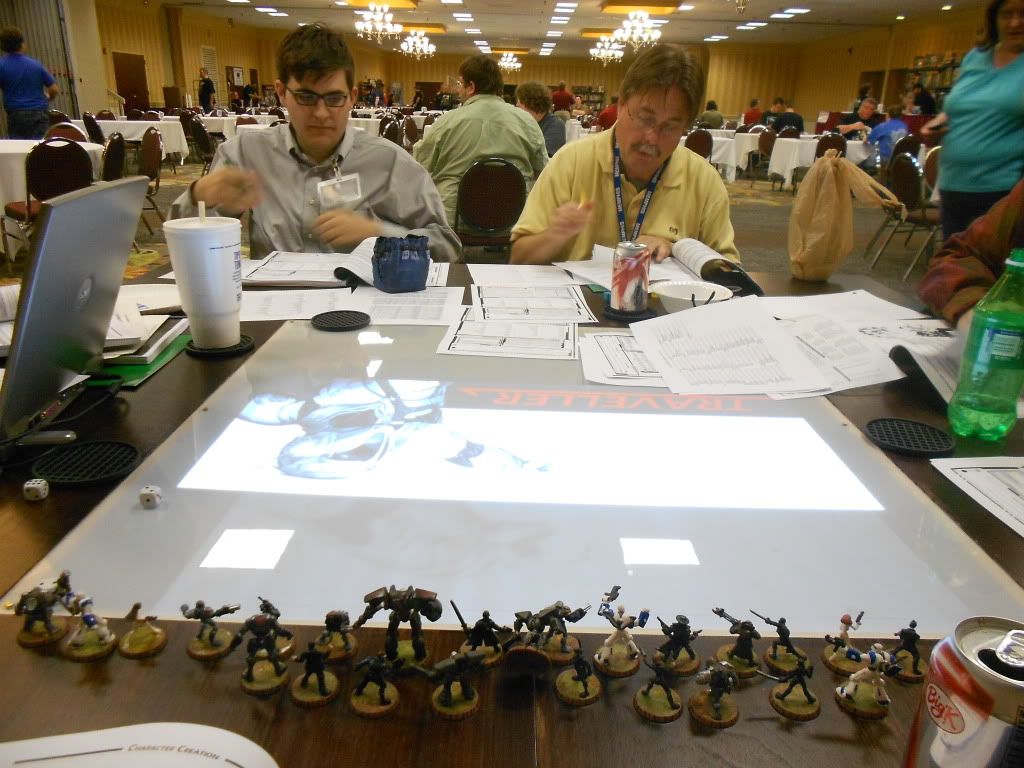
Here is the basic setup:


We have one computer and 27 inch monitor for the Server/Main Screen, a laptop that is running the projection table and another laptop for a GM Station. For the crew we have two desktop computers for Helm(with Joystick) and Weapons stations. We also have 4 Android tablets for the other crew stations. One tablet is for a spare and also for an extra bridge crew station during the RPG Session(more on that later).

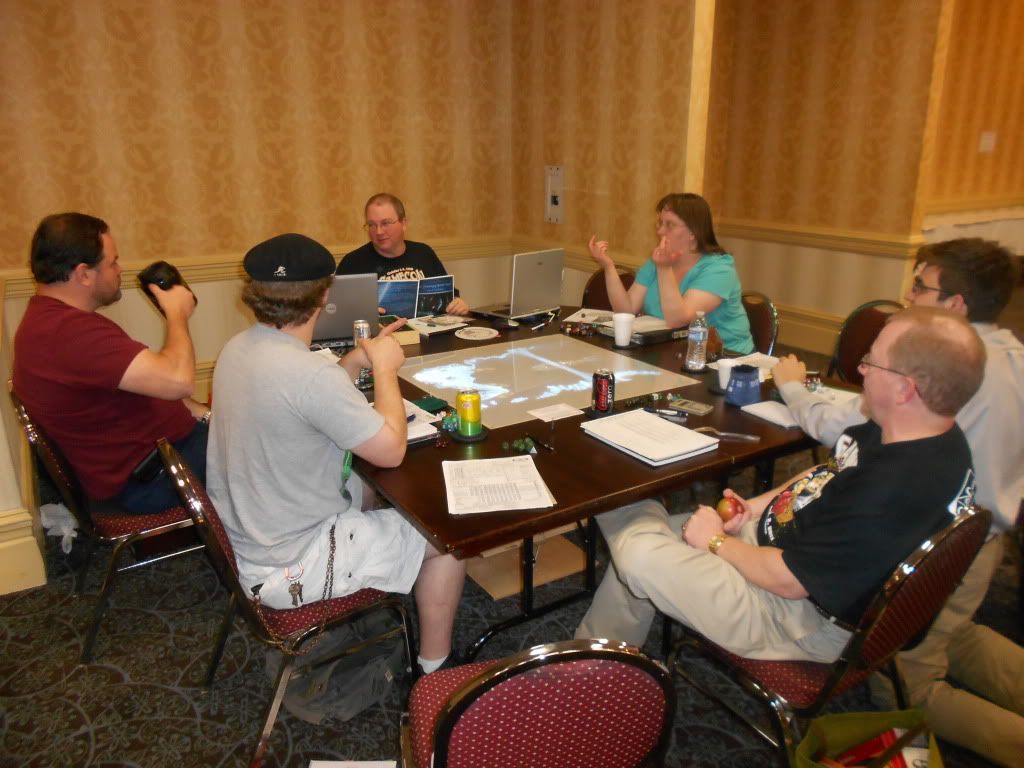
Here's a pic from the GM's seat. GM Laptop is on the right, with the laptop feeding the projector for the Captain's Map on the left. And of course the all important "GM Fuel" (food, drink and cough drops) in the middle. ;)


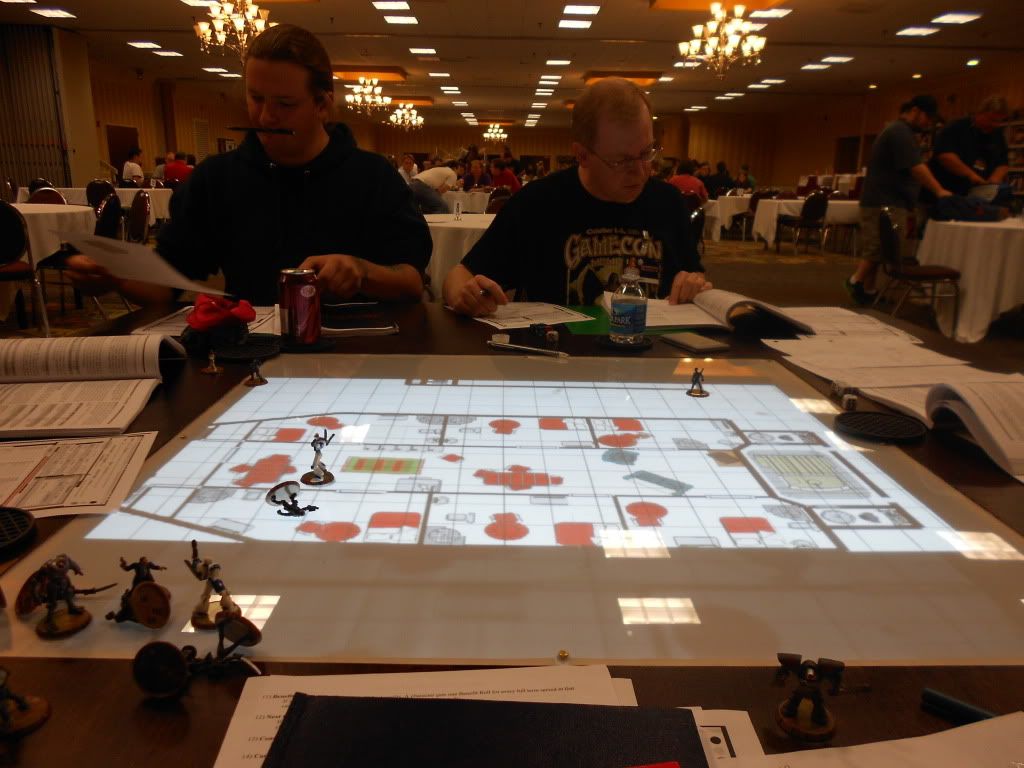
Next up are some pics of various crew enjoying some basic battle scenarios;


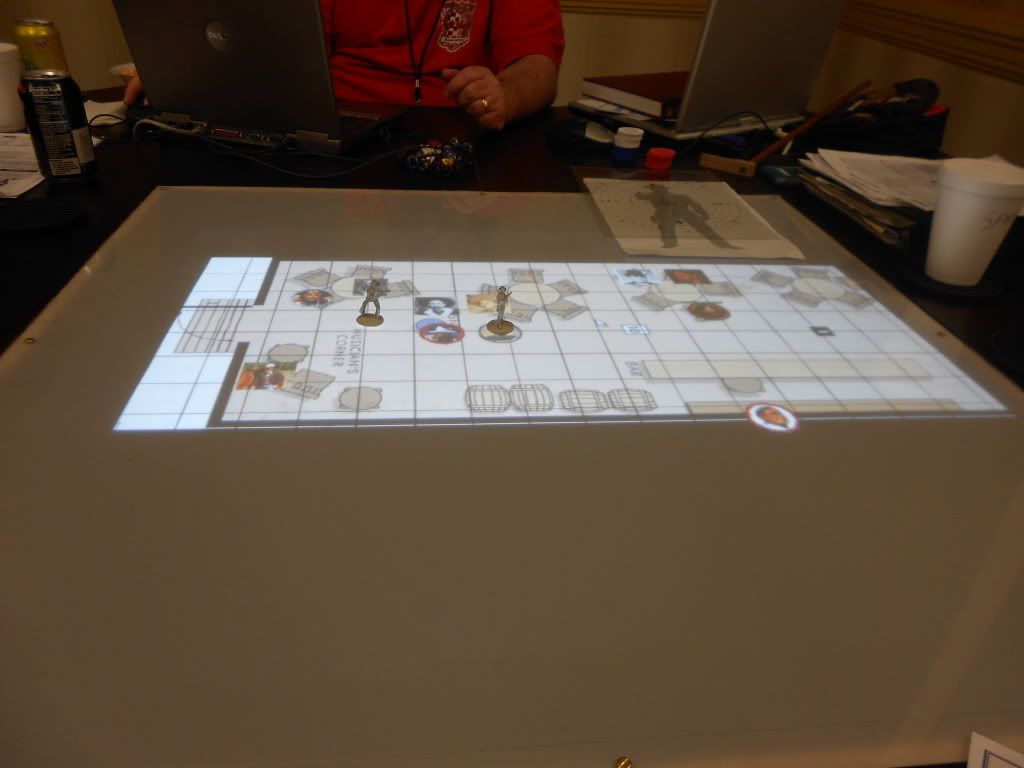
The Captain's Map in use during a battle;


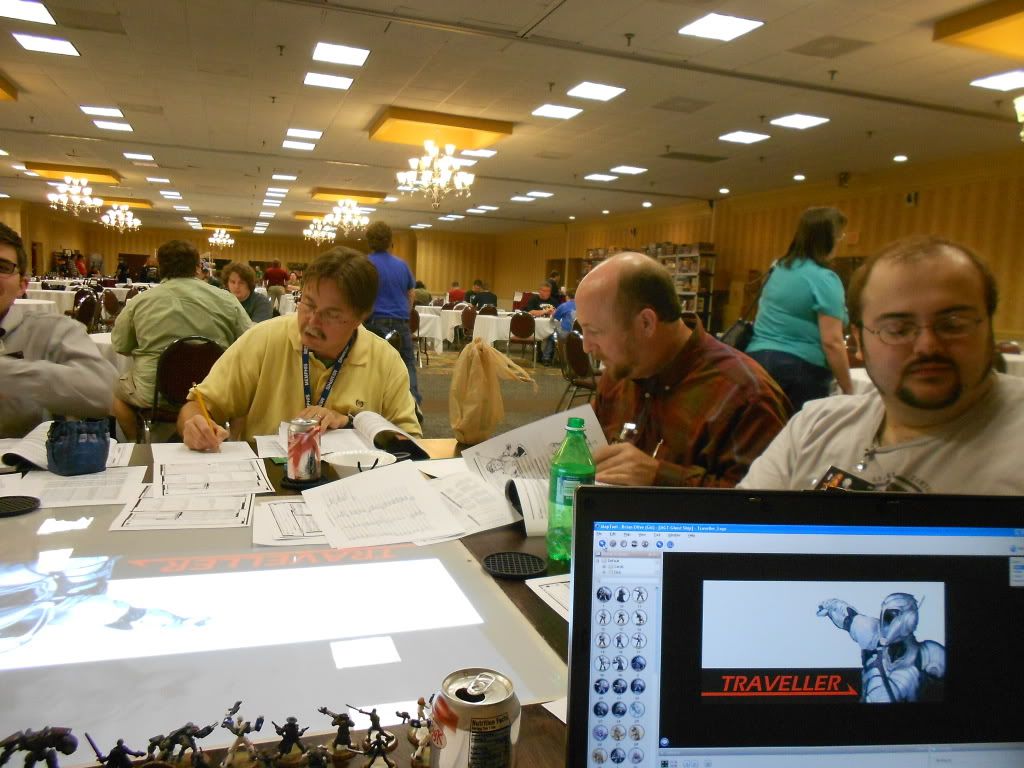
On Sat night I had setup a RPG session using Artemis. This was an experiment to see how well I could pull it together, how well it would be received and if I even wanted to continue to do something like it in the future. The session was named, "Flight of the Vulture." It was about a crew of pirates using a stolen experimental Terran Space Navy ship to fly through area of space immediately after a battle to glean what they could from any surviving ships or wreckage and then get out to sell their ill-gotten booty.

Here are some pics;

In the pic above you can see the Science Officer behind the Weapons Station, and the Captain behind Helm. The Comm Officer(Battle Management) looks on from the far side of the table and the Mission Specialists/Away Team on the near side. For those of you who are Artemis Veterans, you are probably saying, "What do you mean Mission Specialists or Away Team?!" Well, I decided to blend Artemis with a very generic SciFi Homebrew system for some additional fun. During the battle there were some opportunities for the Captain to send an away team to go "take care of business up close and personal" while the battle raged on. The extra crew members were an Assitant Engineer(Scrounger/Damage Control Specialist), Assistant Comm with ground combat experience and a Computer Specialist(i.e. Hacker). Here's a pic of the Mission Specialist Team;


In the above pic, you can see the Engineer on the far right(close to the camera), across the table from Right to Left:
Brian(builder and owner of the table) playing the Asst Engineer
Comm Officer
Asst Comm
Hacker(in the blue hat)

Action Shot of the Captain coordinating the actions of Helm, Weapons and Science;


All in all it went pretty good. I learned a lot of what to do and not to do. Everyone said they had fun and that they'd play this type of scenario again, so I guess that means I'm going to do it again sometime. :)

I learned a lot about scripting missions for Artemis, even though somethings went wrong and I didn't learn to do everything I wanted to do until too late, but that means that my next scenario will be even better!

After the main scenario most of the crew stayed around to play some random battle scenarios and it was during this time we had a couple of "Special Guest Captains" show up unannounced and take over giving orders for a short while;


*no, those last two are NOT photoshopped. :)

So, until next time(meaning it might be a while before we figure out what else do do with this monstrosity). Have fun! Come see us at one of the Memphis Cons. If you see this table setup for a RPG, Artemis and/or anything else, don't hesitate to belly up to the table and game with us. Or just stop and ask anything you want to know about it.

Monday, October 3, 2011

GameCon Memphis Pictures: 


Here are a few pictures of the table at GameCon Memphis.

The first two pictures are during character generation of a "How to play Mongoose Traveller" game.


Next is a picture of one of the HackMaster 4th Edition session. The group is playing The Breaking of Forstor Nagar by Rite Publishing that has been converted to HM4. 


Next is a good pic of the action during another Mongoose Traveller session:


Here is a pic of yours truely prepping for my A&8's game;


Here's a shot of the action in the Thunder Horse Saloon in Lazarus;


And later on as the group were heading to Muskigee and were ambushed by a band of Comanches


Friday, September 30, 2011

Uber-Geek Table at GameCon Memphis! 


We have The Table at GameCon Memphis( www.gameconmemphis.com ). We already played Mongoose Traveller on it, now we are playing http://ritepublishing.com/breakingofforstornagar.html converted to HackMaster 4th Edition on it. Next up is another game of Traveller...

We are taking pictures but haven't uploaded them yet... pics will be up sometime...

Monday, September 19, 2011

Session#2 Additional Pictures and Info:


Here are some additional pics taken with Brian's camera from last night's session;

First up is a pic of Brian standing with one of the sections. This is a good pic, good lighting and you can see the size and some detail of how it is built underneath. You can also see how one of the "GM Wings" are shaped as part of the table.


Next some more shots of the projector rig, because people keep asking about it. The projector is mounted vertically on the only piece of the rig that doesn't move.


The projector is pointing up at the first mirror, which is angled and adjustable. You can adjust the height of the first mirror and the angle. If you look close in the above image you can see the horizontal hinge where the mirror frame is attached. 

Below is a couple of side shots of the projector rig. On each side is a knob that you can loosen to adjust the angle of the first mirror;


Next up is a picture of the back of the rig. You can see the two knobs that adjust the height of the first mirror


Next pic is of the main mirror, notice that it's angle is adjustable also;


So, why all the adjustable mirrors? Because with this setup you can get an effective 5ft throw, much longer than you can with a projector hanging from a standard sized ceiling, which means a bigger and more detailed image on the screen. Also, this makes the projector rig portable, meaning that you don't have to do a permanent install somewhere, which is a big plus with The Wife and also we play at my apartment but the rig is owned by Brian, so he can easily(somewhat) take it home after a game session. And he wants to take it to the game conventions that we have here in town. We have three throughout the year, GameCom Memphis(at the end of Sept), ShadowCon(early Jan) and MidSouthCon(end of March) and I'm hoping to see Brian take it to all three for years to come. 


Here's another pic from last night's session. We had already slain a bunch of monsters, victims of the BattleMage's fireballs are in the foreground and then the Fighters went to work on the ones in the room with the small pools. At this point we are about to face a bunch of others in a room with a Big Pool. The fighters are slugging it out and the battle mage(one of the mini's on the far right) is about to fire off his Wand of Lightning to fry them, the Cleric is watching our backs and my Gnomling Ill/Thief is trying to stay out of the way. We use mini's for the PCs and MapTool tokens on the screen for the bad guys. There are also onscreen tokens for each of our characters. When we want to move our characters, we move the mini where we want to go and the GM moves that Character's Token, which reveals more of the map(we are using the Fog of War and Vision Blocking features of MapTool). All the tokens with a Red X are monsters that were slain. And yes, we've already looted their bodies. :) 


The next pic is later on as the party swims through a water filled tunnel while using Potions of Waterbreathing. We are tracking down the BBG(Big Bad Guy), aka The Boss of this dungeon so we can kill him/it. We have moved the mini's out of the way for a clear shot. We swam by and the fighter(Rocky) in the lead didn't see the Giant Crayfish in the side room. Look at the lower right and you'll see some dots with what looks like shadows that angle off. That is a portcullis that is blocking the passage way. This is a good view of the Fog of War that has been cleared but the bars are blocking some vision, thus the Shadows(if you've used MapTool vision blocking and FoW you know what I'm talking about). After this combat we opened the gate and moved on through the passage that was revealed as we moved along. That was where we finished the session. 


I probably won't be posting any more pics until after our next session(Next Sunday). However, depending on the questions that I get, I may make another couple of posts this week. I'm thinking a FAQ and a History(or how did this thing come about) are due. 

More later... 

Sunday, September 18, 2011

Game Session #2:


Pregame Setup:

Sorry for the darkness of these next couple of pics.

This pic shows the table taken apart into its two pieces. Each half is about 6' long. The legs are standard furniture legs bought at Lowes:


Next pic is the table stood up and put together without the projector, mirrors and screen. The two halves clamp together with standard furniture clamps, like on the insert leaves of dining room table. The table halves are made from 3/4 inch birch furniture plywood. 


Here is a pic of the projector rig and first mirror. The wood for the rig is left over from cutting out the table tops. The mirror is mounted above the projector. You can see one of the knobs(on the left) that adjusts the angle of the first(upper) mirror;


Next is the main mirror while in use. This mirror is also adjustable. Also shown is the network switch and cabling that we used to connect the computers for the table to my home network router.


Next is another shot of us in mid-game. My chair is on the far right(I'm taking the picture). We really don't need all four computers to run the table. It only takes the two on the left at the GM station. One for the GM map/Maptool server and the other one(Far left) feeds the projector showing what the Party sees. The one at the far end is just for that player, he has his Character Sheets and notes on it. The fourth one, the one in the far right with the screen facing the camera, is running skype (you can see the speakers on the very far right of the screen on the small table) so that our remote player can talk to us. There's a table mic but it is behind my laptop out of sight(Note: if you ever use an audio program like Skype to help a remote player game with you, make sure that you have the mic separated from the speakers, feedback is a pain). My wife wasn't playing tonight so the position on the GM's right is empty.


The size of this table has enough space around it so that six adults can sit at it and have space around the screen for books, papers, laptops, or whatever. Our group used to have eight people(1 GM, 1 Remote and 6 Players at the table), we're down one player right now.


Here's another picture showing it in mid game from another angle. You can see how much room is all the way around the mapboard. The GM station is shaped so that part of the table that sticks out for the two laptops and that leaves a spot in the middle for GM books, notes and a clear sight of the mapboard.


We took some other pictures with Brian's camera so as soon as he sends me those I'll post them. Those pics show some more closeups of the mapboard.

We have one more playtest of the table(next Sunday) before its public debut at GameCon Memphis. If you are going to GameCon Memphis, my HackMaster Basic and Aces&Eights games along with Brian's HM4(2  sessions) and Traveller(2 sessions) games will all be played on this table. That's a bunch of hours of gaming at this table, so if you are going to be there check it out! 

Uber-Geek Game Table


This is a log for our use of an awesome projector table for playing RPGs and possibly board games in the future.


We just started using this table after it was built by Brian, one of the guys in our group. Here is a couple of shots before our first game with it;


Here are some shots of maps from our first game on it;


More pictures to come later...